The Complete Guide to Reducing WSL Disk Space
This guide provides a detailed explanation of the latest solutions to the problem where deleting large files such as Docker cache, images, or stable diffusion models within WSL (Windows Subsystem for Linux) does not seem to reduce the disk space from the perspective of the host Windows system.
Why Deleting Files in WSL Doesn’t Free Up Space on Windows
In WSL, the Linux file system exists virtually on top of the Windows file system. Particularly with WSL 2, which uses an actual Linux kernel, the file system is stored within a VHDX (Virtual Hard Disk) file.
Main Causes
- Characteristics of Dynamically Expanding VHDX: WSL 2’s VHDX files expand dynamically but do not automatically shrink even after files are deleted.
- File System Differences: The management methods differ between WSL 2’s Linux file system (ext4) and Windows’ NTFS.
- Handling of Deleted File Space: When a file is deleted, its space is marked as “unused,” but the size of the VHDX file itself does not change.
In WSL 2, by default, each VHD file is allocated a maximum disk capacity of 1TB (it was 512GB before WSL release 0.58.0, and 256GB before that).
Latest Solutions for 2025
Method 1: Manual Compaction with diskpart (for Windows Home/Pro)
This method is available on all editions of Windows 10/11.
Step 1: Completely Shut Down WSL 2
Important: You must completely shut down WSL before starting the compaction process.
# Run in PowerShell or Command Prompt
wsl --shutdown
Alternatively, you can shut it down directly from within WSL:
# Run inside WSL (e.g., Ubuntu)
sudo shutdown now
Verification:
wsl --list --verbose
Ensure that all distributions are in the “Stopped” state.
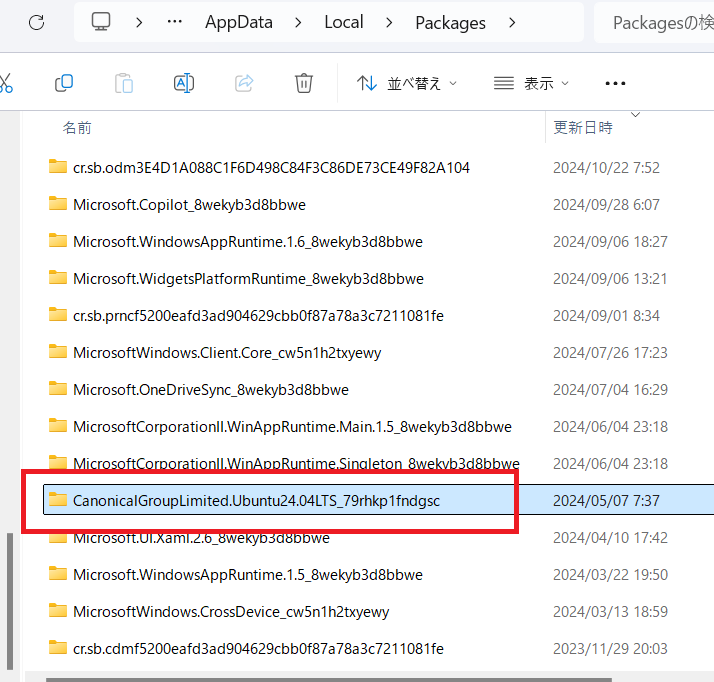
Step 2: Locate the VHDX File
You need to find the exact location of your VHDX file. Use the following PowerShell script:
# Run in PowerShell (replace <distribution-name> with your actual distribution name)
(Get-ChildItem -Path HKCU:\Software\Microsoft\Windows\CurrentVersion\Lxss |
    Where-Object { $_.GetValue("DistributionName") -eq 'Ubuntu' }).GetValue("BasePath") + "\ext4.vhdx"
Common locations include:
- Ubuntu:
%USERPROFILE%\AppData\Local\Packages\CanonicalGroupLimited.UbuntuonWindows_79rhkp1fndgsc\LocalState\ext4.vhdx - Debian:
%USERPROFILE%\AppData\Local\Packages\TheDebianProject.DebianGNULinux_76v4gfsz19hv4\LocalState\ext4.vhdx - Docker Desktop:
%USERPROFILE%\AppData\Local\Docker\wsl\data\ext4.vhdx
Step 3: Run Compaction with diskpart
- Open Command Prompt or PowerShell as Administrator
- Type “cmd” in the Start Menu
- Select “Run as administrator”
- Start diskpart
diskpart
You will see the “DISKPART>” prompt.
- Select the VHDX file
select vdisk file="C:\Users\YourUsername\AppData\Local\Packages\CanonicalGroupLimited.UbuntuonWindows_79rhkp1fndgsc\LocalState\ext4.vhdx"
Notes:
- Ensure the path is entered correctly.
- If the path contains spaces, enclose it in double quotes.
- If the path is long, you can copy the VHDX file to another location (e.g.,
C:\temp\) before proceeding.
- Run the compaction
compact vdisk
A successful message will look like this:
100 percent completed
DiskPart successfully compacted the virtual disk file.
- Exit diskpart
exit
Method 2: Using Optimize-VHD (Windows Pro/Enterprise Only)
If you are using Windows Pro or Enterprise editions, you can use Hyper-V cmdlets.
Enable Hyper-V Feature
- Control Panel → Programs and Features → Turn Windows features on or off
- Check Hyper-V
- Restart your PC
Run Compaction
# Run PowerShell as Administrator
wsl --shutdown

# Navigate to the VHDX file directory
cd "C:\Users\YourUsername\AppData\Local\Packages\CanonicalGroupLimited.UbuntuonWindows_79rhkp1fndgsc\LocalState"

# Run compaction
Optimize-VHD -Path .\ext4.vhdx -Mode Full
Method 3: Utilizing the Sparse VHD Feature (WSL 2.0.0 and later)
Since WSL 2.0.0, the sparse VHD feature is available, improving automatic disk space management.
Configure Sparse VHD
# Enable sparse mode
wsl --manage Ubuntu --set-sparse true

# Check the setting
wsl --manage Ubuntu --get-sparse
Note: If you enable sparse mode, the Optimize-VHD command will no longer work. Instead, use the following steps to compact:
# Temporarily disable sparse mode
wsl --manage Ubuntu --set-sparse false

# Compact with diskpart or Optimize-VHD

# Re-enable sparse mode
wsl --manage Ubuntu --set-sparse true
Pre-compaction Steps to Maximize Effectiveness
Zero-filling Free Space on the Linux Side
To maximize the compaction effect, fill the space of deleted files with zeros:
# Run inside WSL (Ubuntu/Debian, etc.)
# Note: This process can take a long time

# Method 1: Using the dd command
sudo dd if=/dev/zero of=/zero.fill bs=1M
sync
sudo rm -f /zero.fill

# Method 2: Using fstrim (Recommended)
sudo fstrim -v /
The fstrim command discards unused blocks on a mounted filesystem, significantly improving compaction results.
Example Output:
/: 24.5 GiB (26309640192 bytes) trimmed
Additional Cleanup for Docker
If you are using Docker Desktop:
# Remove unused containers, images, and volumes
docker system prune -a --volumes

# Also, run "Purge Data" from Docker Desktop settings → Troubleshooting
How to Compact VirtualBox VDI Files
A similar issue occurs if you are using VirtualBox. You can resolve it with the following steps:
Step 1: Zero-fill within the Guest OS
# Run in the Linux Guest OS
sudo dd if=/dev/zero of=/zero.fill bs=1M
sync
sudo rm -f /zero.fill
Step 2: Compact with VBoxManage
# Run in Command Prompt
cd "C:\Program Files\Oracle\VirtualBox"
VBoxManage modifymedium --compact "C:\path\to\your\virtualdisk.vdi"
Note: If the path contains spaces, temporarily move the VDI file to another location.

Troubleshooting
“Optimize-VHD” is not recognized
This happens on Windows Home editions or if Hyper-V is not enabled. Use diskpart instead.
Space is not reduced after compaction
- Try the Export/Import method:
# Export
wsl --export Ubuntu ubuntu-backup.tar

# Uninstall
wsl --unregister Ubuntu

# Re-import
wsl --import Ubuntu C:\WSL\Ubuntu ubuntu-backup.tar
- Use the wslcompact tool: You can also use the wslcompact tool available on GitHub.
VHDX file becomes read-only
A sudden shutdown or power failure can cause the Linux distribution’s VHD to switch to read-only mode.
Repair steps:
# Run in PowerShell
wsl --shutdown
wsl --mount "C:\path\to\ext4.vhdx" --vhd --bare
wsl sudo e2fsck -f /dev/sdc  # Device name may vary
wsl --unmount
Changes from WSL Open Sourcing (from May 2025)
On May 19, 2025, Microsoft open-sourced a large part of WSL. This brings:
Key Changes
- Increased Transparency: The source code is now available on GitHub, allowing inspection of its internal workings.
- Community Contributions: It’s now possible to contribute bug fixes and propose new features.
- Faster Updates: Updates are independent of Windows itself, allowing for quicker feature additions.
Open-Sourced Components
- wsl.exe, wslconfig.exe, wslg.exe (command-line tools)
- wslservice.exe (WSL service)
- Linux daemon processes (networking, port forwarding, etc.)
Components Not Open-Sourced
- Lxcore.sys (kernel driver for WSL 1)
- P9rdr.sys, p9np.dll (\wsl.localhost file system redirect)
Summary and Results
In my environment, I was able to reduce a 300GB VHDX file to 5GB using the methods above. The reduction effect varies depending on the environment, but significant space savings are possible with the proper steps.
Key Points
- Always make a backup (especially if you have important data).
- Completely shut down WSL before starting.
- Run a zero-fill or fstrim before compacting.
- Perform regular maintenance (once or twice a year is recommended).